We are so excited to welcome our guest, Angela Rose, who is here to show us how to easily stencil floor tiles – have you ever thought about trying something like this? Angela shares her awesome home projects on instagram @angelarosehome so go follow and see even more stunning ideas!
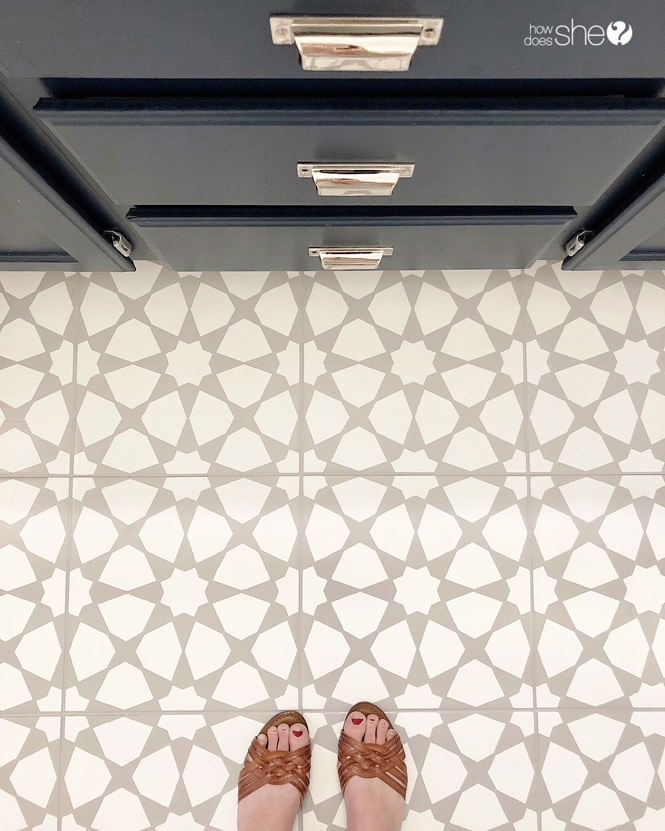
I stencilled my floor tiles!
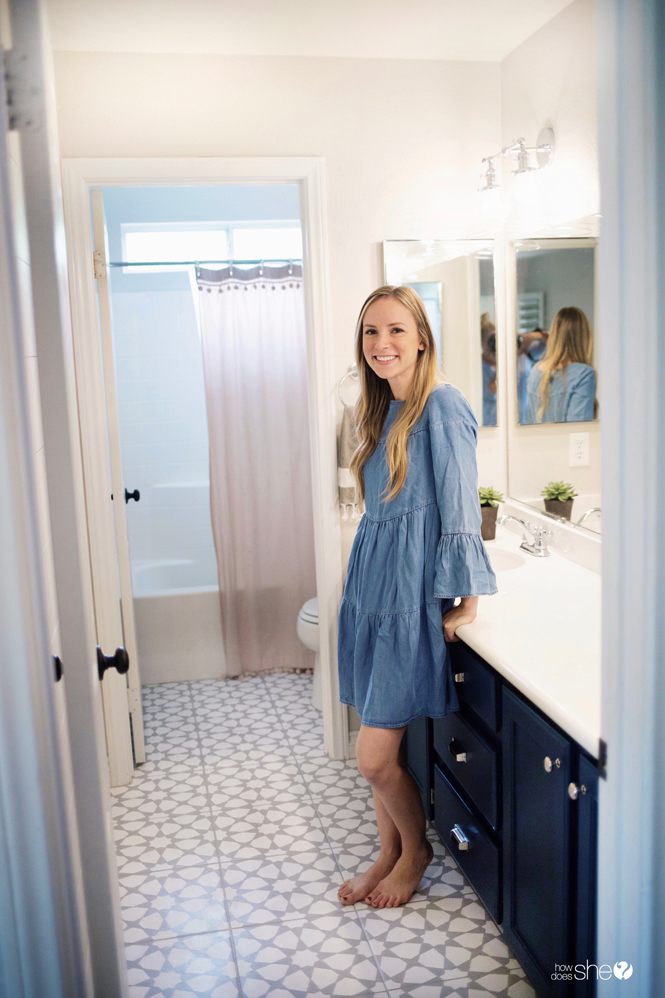
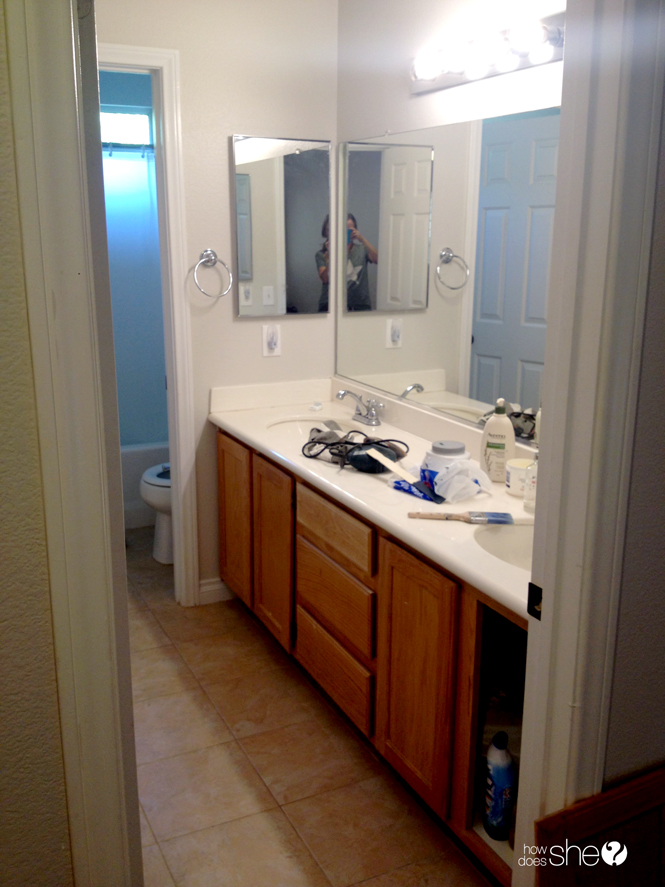
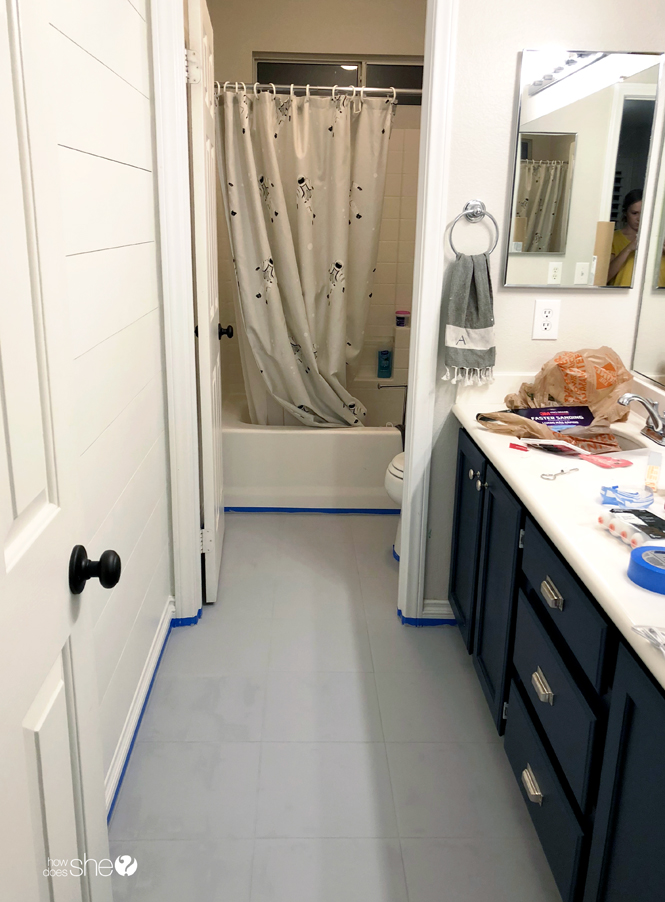
Do you have plain boring tile on your floors, fireplace, backsplash, or stairs? So did I…and I decided I was tired of waiting and saving for a big renovation, and I wanted to DO something about it. So for under $100, I STENCILLED my bathroom tile floor, and I am in love how it looks!
You can totally do this too, and I’m going to give you all the details so we can get rid of lame beige tiles forever!
ORDERING THE STENCIL
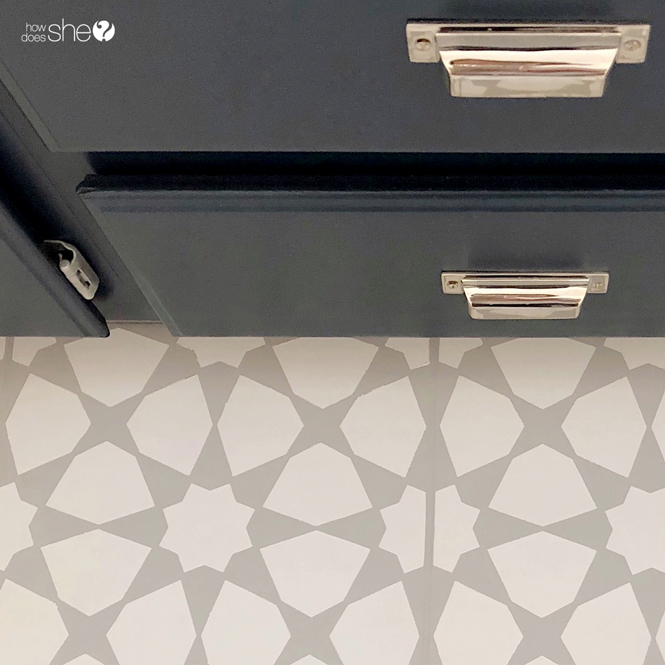
First you need a tile stencil. I used this AMIRA stencil from Dizzy Duck Designs UK etsy shop. They have so many cute patterns to choose from, and you can even special request to have it cut the exact size of your tile. Make sure to measure your tile exactly (to the 1/16 of an inch even)!

To visualize what colors and combination I wanted to use, I tested out different options on spare tiles (you could also use cardboard).

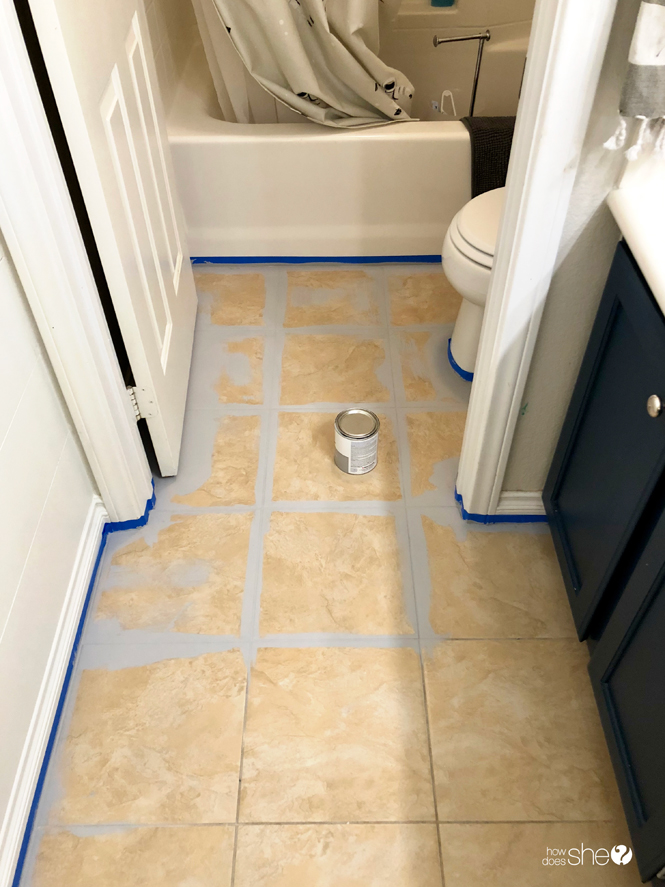
SURFACE PREP
Tile preparation is very important in order for the paint to stick, so don’t skip this step! I thoroughly cleaned my tile, used liquid de-glosser, and also sanded it with 120 grit to take off sheen and rough it up a bit. For floors, you can also use Zinsser 1 2 3 Primer for added durability.
Next, I took blue painters tape and taped off everything. And now you’re ready to paint!
Tip: You can use a blow dryer like a mini leaf blower to blow away tiny debris on your floors to keep them clean.
PAINTING YOUR TILE
Start by painting your tile the base color (I used Rustolem Chalked Paint in Aged Gray). I used a high quality paint brush and only needed one coat, but you can do more if needed. Allow to dry completely.
Now here comes the fun part! Tape your stencil down with painters tape, and use a high qualify foam roller to roll on THIN coats. Roll off excess paint onto a paper towel. This is important! A thick application will bleed under the stencil, whereas thin coats make nice clean lines. I applied 2 coats of Rustoleum Chalked Paint in White Linen for the stencilled parts.

Tip: In between coats, you can use a blow dryer on the cool setting to speed up the drying process. Purchasing 2 stencils would also help speed up the process.
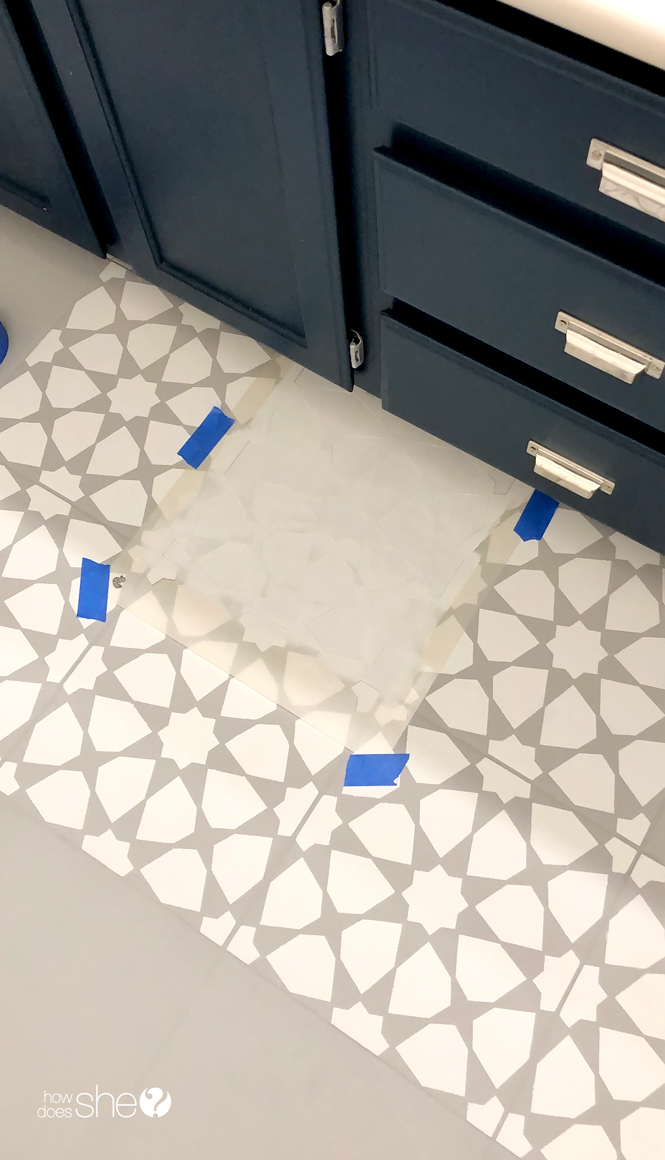
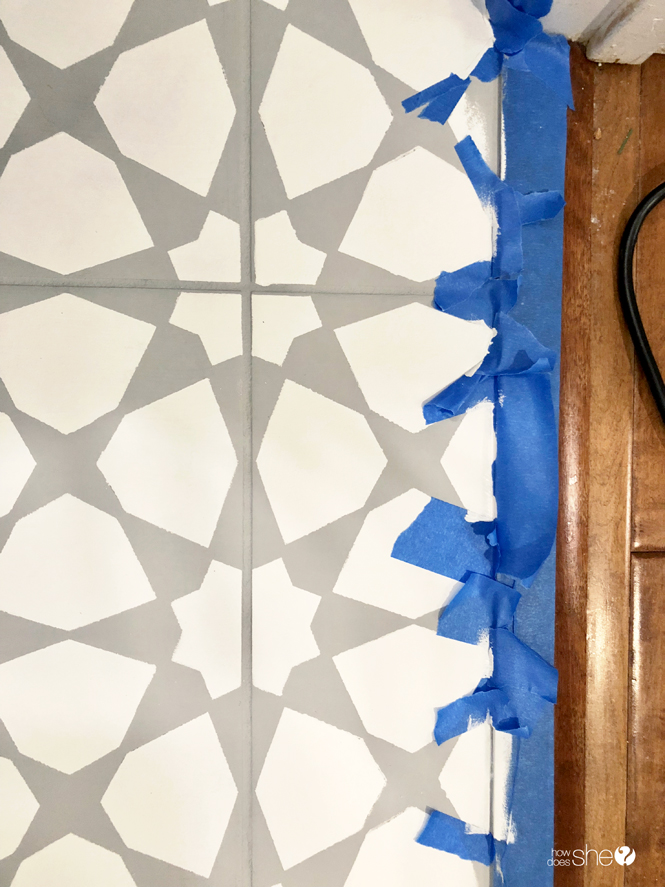
Move the stencil to different tiles making sure to not overlap with any wet parts. Once you complete all the square tiles, move onto the edges and tricky areas. This is where you get a little creative! To get these areas I bent the stencil up against walls, cut the stencil down to fit in smaller areas, and also used painters tape to do places where I couldn’t fit the stencil.


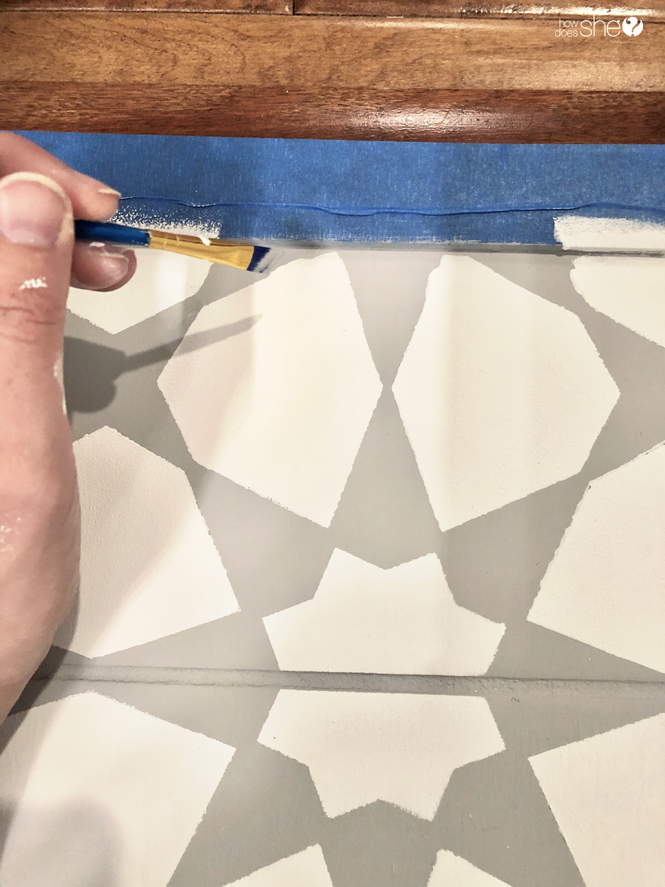
Finally, I took a small paint brush and touched up all the edges and places where it didn’t look perfect. A little time consuming, but totally worth it (I was also glad that I had really cleaned my toilet as I was really up close and personal with it!).
SEALING YOUR TILE
Sealing the tile is easy! I applied 4 coats of Polycrylic in satin with a high quality paint brush (with a light sanding between coats).
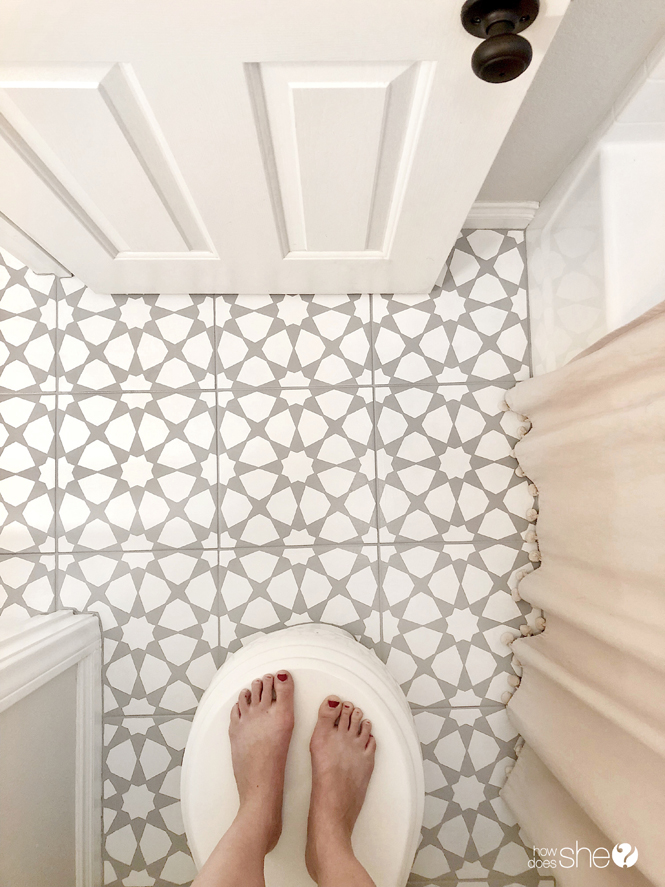
ADMIRE YOUR STENCILLED TILE
And that’s it! A perfect solution for revamping that boring tile, and an affordable way to get a custom tile look without the custom tile price tag.


Here is the supply list and cost breakdown of the project:
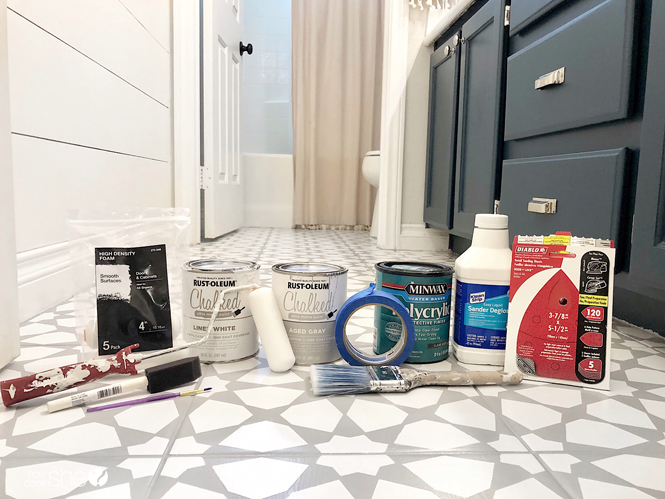
- AMIRA stencil: $39.21
- Rustoleum Chalked Paint Aged Gray: $16.98
- Rustoleum Chalked Paint Linen White: $16.98
- *could also use Behr Porch & Patio Floor Paint
- Minwax Polycrylic in Satin: $9.47
- High quality paint brush
- High quality foam rollers
- Small paintbrush for touching up edges
- Sander Deglosser
- Sander/Sandpaper 120 grit
- Blue Painters tape
Thanks for checking out this fun project with me! To see more of my home projects, follow me @angelarosehome. See you there!
The post Learn How To Easily Stencil Floor Tiles! appeared first on How Does She.
by Bobbi via Home And Garden


No comments:
Post a Comment