I remember being about eight years old, standing in front of my grandmother’s glass case, mesmerized by her collection of bells. She had small, delicate bells with pictures of birds or states on them and larger brass bells that could barely fit in the palm of my hand when on special occasions she let me open the glass door and take out a few. Each had an individual ring that tickled my ears and the time flew by as I examined each one, wishing to hold them all and make them sing.
“Choose your favorite one,” she said. “It will be yours one day when I’m gone.”
Decades passed by, my grandma’s bell collection gathered dust in that glass case, and she got dementia in her later years. When she died, her children cleared the house and the bells were tossed in a box and donated. I never got the special bell that I picked out with her that day.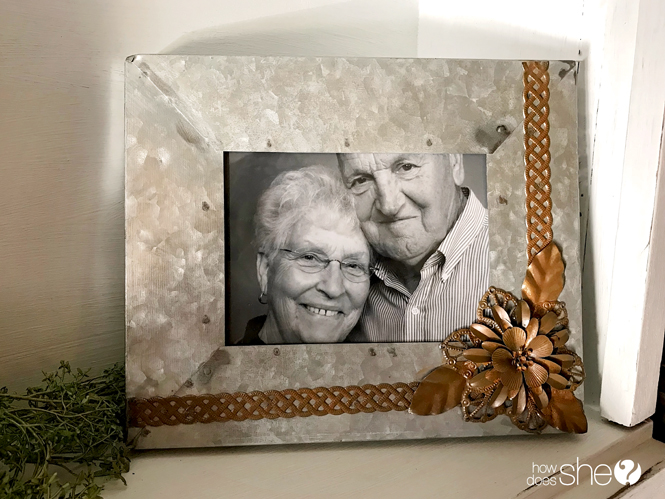
5 Reasons Death Cleaning is the Latest and Greatest Way To Live Your Life
Death cleaning sounds terribly morbid, but really it’s a wonderful way to organize your home and live your life.
Derived from the Swedish term dostadning (meaning death and cleaning), it’s a way to declutter your life and organize your home with your death in mind. Basically, what is important and what is not? What serves a purpose and what does not? It’s a way of living that saves your loved ones from having to rummage through your stuff, trying to determine what is special and what is junk. It’s a good mindset to adopt now because, after all, none of us knows when we will die. Here are five reasons death cleaning is pretty cool.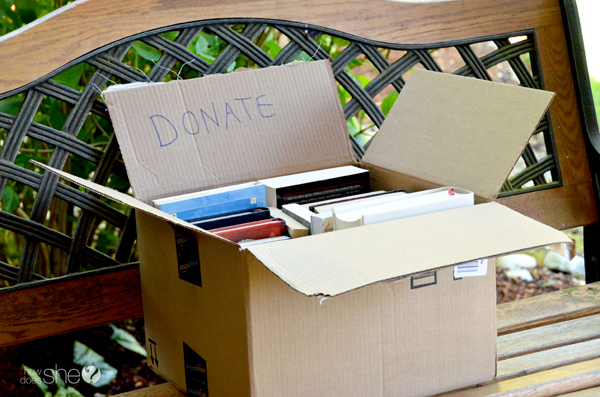
1. It discourages you from collecting things you don’t need.
For most of us, it’s a safe bet that we have too many things in our home. From kitchen gadgets, to over-flowing holiday decorations that only come out once a year, to clothing that we might wear again some day.
I recently visited an estate sale where the deceased owner had over 20 staplers. No one can use that many staplers! With the Swedish mindset of death cleaning, you stop buying in excess. Have what is needed and nothing more.
I’m sure the last thing that homeowner is thinking about right now are the staplers he left behind.
2. It encourages you to let go of things that aren’t important.
Along that same thread, death cleaning your home means going through each room thoroughly and eliminating things that aren’t important. Sort through your gadgets and winnow out the ones that don’t have a purpose or bring happiness. It’s very similar to Marie Kondo’s The Life-Changing Magic of Tidying Up. You can declutter your life by sorting through the things that spark joy and the ones that do not.
If you’re helping a loved one do this, be sensitive by suggesting that this type of decluttering will make the home more enjoyable for your loved one to live in and for family to come visit. Take the opportunity to share stories and memories and let them know that your memories aren’t tied to the objects they own.
3. Ask y0urself: Do I want my loved ones to deal with this?
The purpose of death cleaning is to save your loved ones the stress and difficulty of cleaning up your excess. No matter what age you are, ask yourself when facing a particular closet or bedroom: Would I want my loved ones to have to deal with this? If the answer is no, then make a plan to start eliminating/sorting/cleaning now.
This can get overwhelming, so tackle one space at a time, whether it’s one drawer or one shelf. Work methodically and consistently. Death cleaning isn’t a one-and-done thing; it’s an ongoing process, or rather, a frame of mind.
4. Don’t wait until you’re dead to pass on your special things.
I often wonder why my grandmother didn’t just give me my special bell then, in those few precious minutes we shared. It would have been the perfect moment.
The one thing I love most about Swedish dostadning is the idea that you give your special possessions to your loved ones while you are alive. Don’t wait. My grandmother’s bells brought her the most joy when she shared them with other people. Other than that, they just sat on a shelf. Don’t wait until you are dead to pass on your special things—if the time is right, find happiness in sharing them now.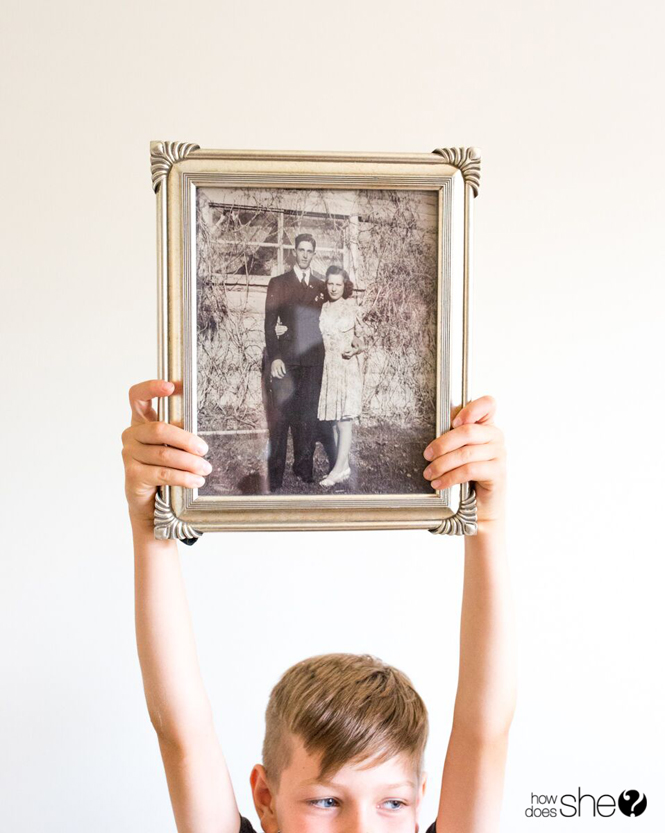
5. Death cleaning reduces stress and increases productivity.
A recent UCLA study found that women especially experience spiked stress hormones when a home is cluttered. Living in chaos affects your mood, outlook on life, and in some cases, your health. Elderly people can trip over clutter and injure themselves, sometimes with no way of contacting help.
Take a few notes from the Swedes and try death cleaning. It is a new way of looking at a normally banal chore that both young and old can benefit from.
For a good read on the subject, check out The Gentle Art of Swedish Death Cleaning by Margareta Magnusson.

The post 5 Reasons Death Cleaning is the Latest and Greatest Way To Live Your Life appeared first on How Does She.
by Nicolette via Home And Garden


 (Image via Google Maps)