(You can find more of my DIY home projects @angelarosehome)
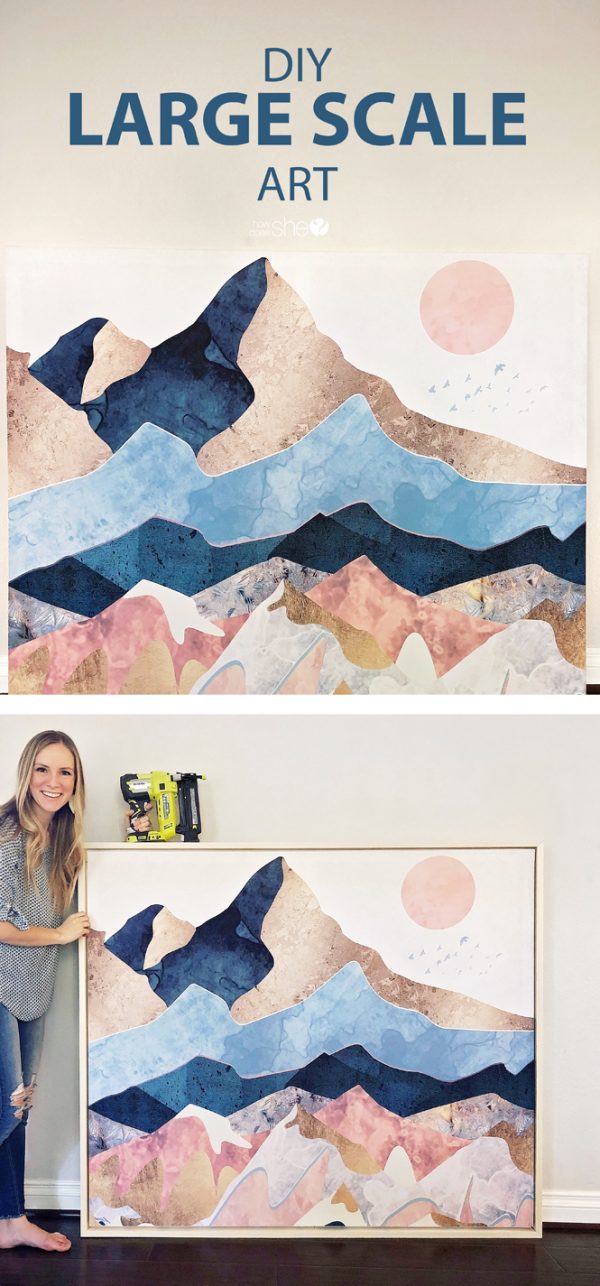
I love large, beautiful artwork, but once you add in the cost of the print PLUS framing…it can be hundreds and hundreds of dollars! So, I decided to come up with a way to get affordable DIY large scale art and then hang it on a budget as well. The solution: wall tapestry (or other fabric or shower curtain), stapled onto a DIY wood frame. Doing this turns it into a large canvas print you can hang, and the whole project only cost me $40 (and a couple of hours).
Step 1:
Order your wall tapestry. I ordered mine from society6.com. They have thousands of different wall tapestries and they are available in 3 sizes. I have also seen them at urbanoutfitters.com (or you can also just use fabric or a shower curtain).
Step 2:
Buy 1×2 pine boards from your local hardware store. Cut the top and bottom board to 3 inches less than the length of your fabric. Cut the side boards (and middle support board if needed) to 5 inches less than the total height of your fabric. Once you’ve placed the boards on your fabric to ensure you’ll have enough fabric on the perimeters to wrap around the frame…you are ready to screw your frame together for your DIY large scale art.

Step 3:
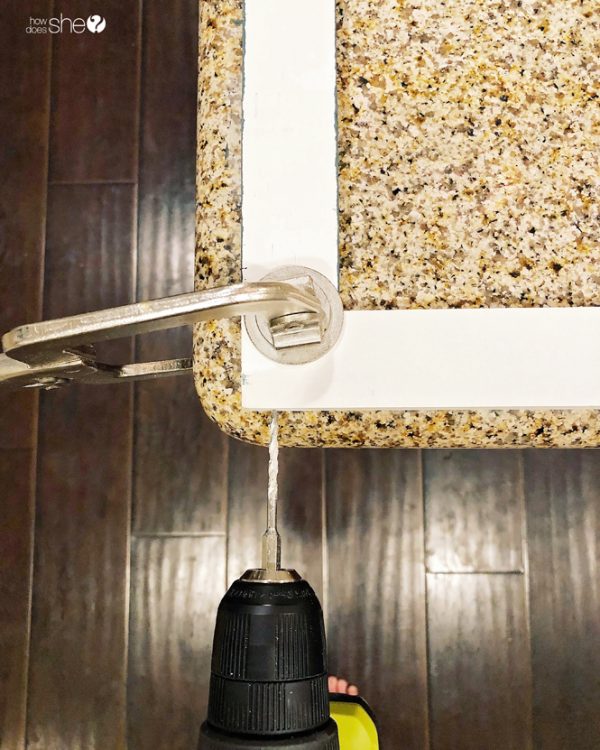
Pre-drill 2 holes for your screws. I found it helpful to clamp my boards on a hard surface. Screw some 2 inch screws into the predrilled holes.
Step 4:
Now that your frame is assembled, it’s time to staple your fabric. Make sure your fabric is IRONED first! (If your fabric is a little see-through, you can first staple a white sheet or dropcloth.) Turn fabric face down on the ground and smooth out. Place wood frame on top of fabric.
To staple your fabric, start with the top. Once finished with the top, move to the bottom…and then do the sides. On each side you will want to start in the middle of your board. Wrap the fabric around the frame to the backside staple, and then work your way left and right, wrapping the fabric and stapling every 6 inches or so.
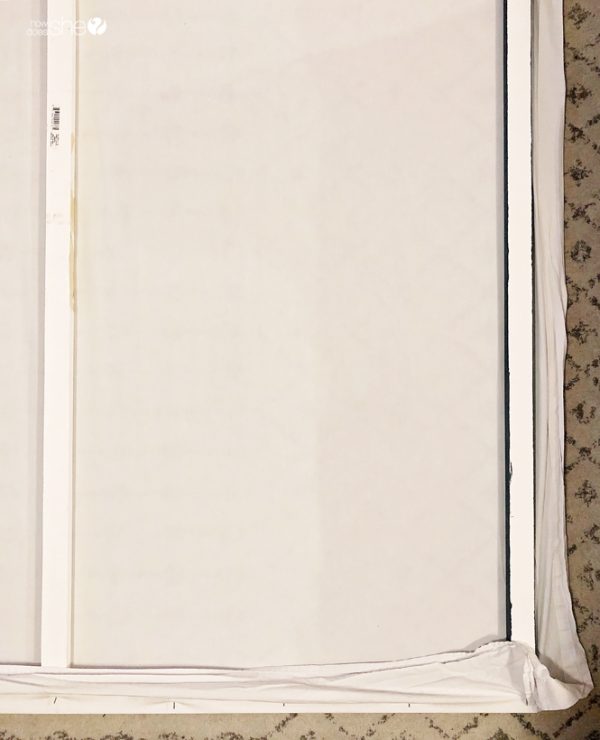
Once you’ve completed the top, start in the middle of your bottom board. Pull the fabric tight and staple. Continue pulling the fabric tight and stapling as you move left and right. Once you’ve completed the sides (pulling tight to ensure there are no wrinkles), you can focus on the corners. I wrapped mine like a present by just folding it over to the top and bottom edges of the frame and stapled.
Step 5:
Cut excess fabric!

Step 6:
Now you have a large canvas of your art! You can hang like this or you can add a DIY floating canvas frame like I did. Full tutorial of that available @angelarosehome and angelarosehome.com.


For more DIY home decor projects, check out some of these other great ideas!
DIY Large Tassel Blanket
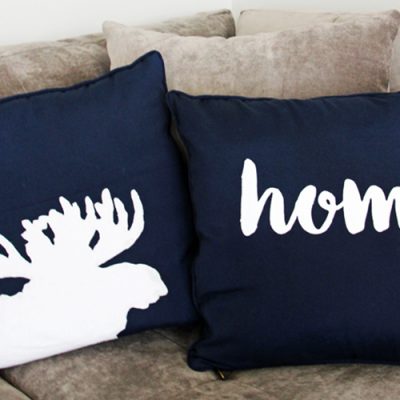
DIY painted pillow tutorial
Learn How To Easily Stencil Floor Tiles!
The post DIY Large Scale Art appeared first on How Does She.
by Angela via Home And Garden


No comments:
Post a Comment