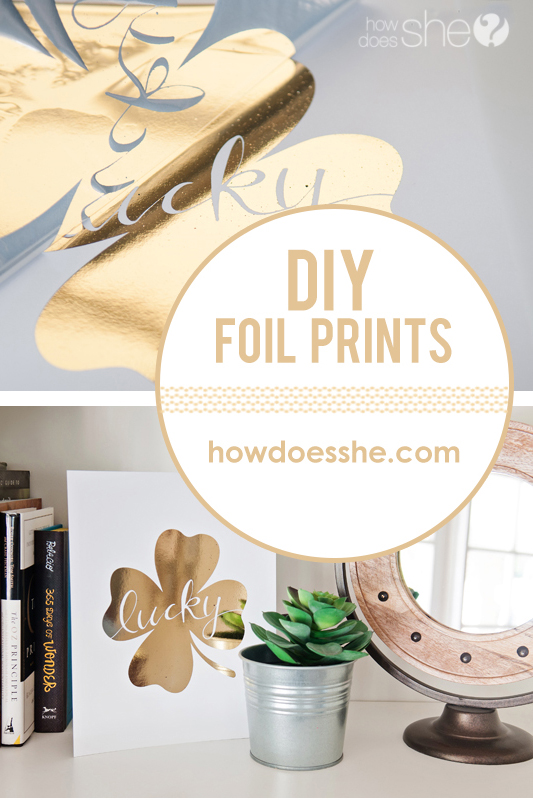
Easy DIY Gold Foil Prints
Gold foil prints are in and they are easier to create than I could have imagined. You only need three things to complete this simple project: A laser print, toner reactive foil and a laminator.
First, create your black and white graphic (or download our lucky shamrock) and print on a laser printer (which uses toner). We have an ink jet printer so I sent the file to my local print shop (Kinkos, Staples) and spent 14¢ to have it printed on card stock. Little tip – save yourself another trip and print 2 or 3 just in case you mess up!)
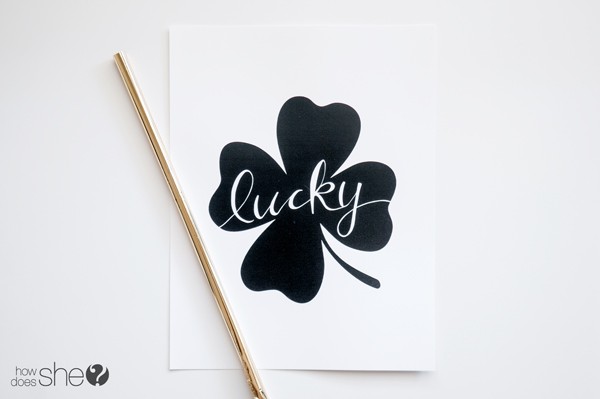
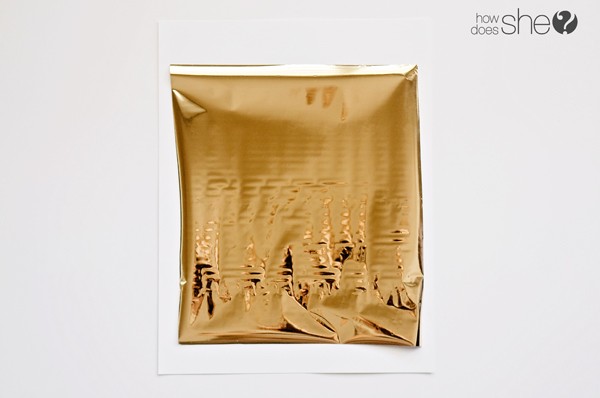
Make sure your print is free from any dust or fibers (it will make it so the foil doesn’t stick in those areas.) Carefully roll out your toner reactive foil to completely cover your black and white image, gold side up.
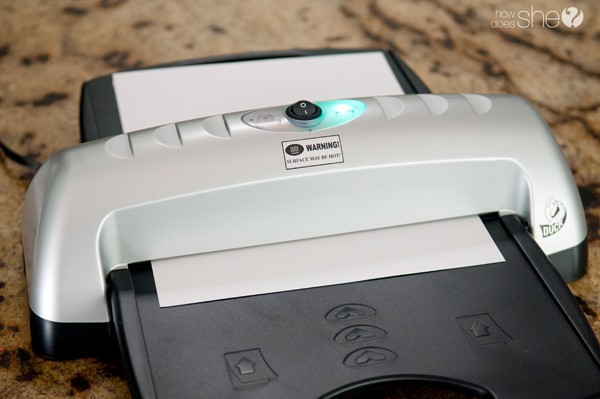
Place a piece of plain printer paper over the top and carefully send it through your laminator. In order for this to work properly, the foil must get hot enough to bind to the black toner. I originally sent it through the laminator with card stock over the top and it didn’t work. My laminator also came with a laminating envelope which was too thick as well for the foil to get hot enough.
 Once it comes out of the laminator and cools, you’ll see how the gold is stuck to the toner.
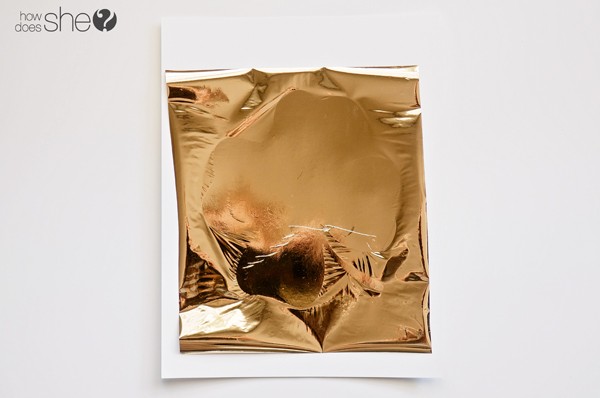 The only thing left to do is slowly pull the gold foil back and you’re done.

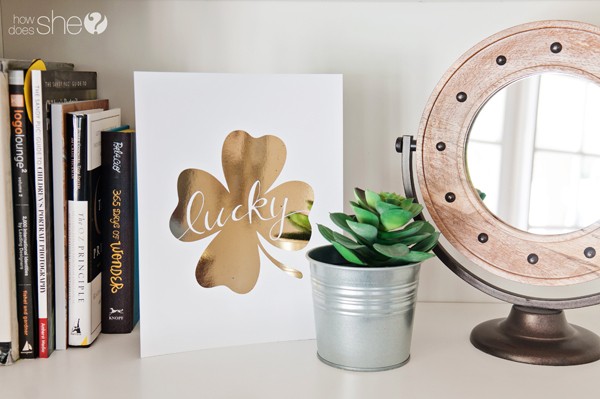
Isn’t this gorgeous?
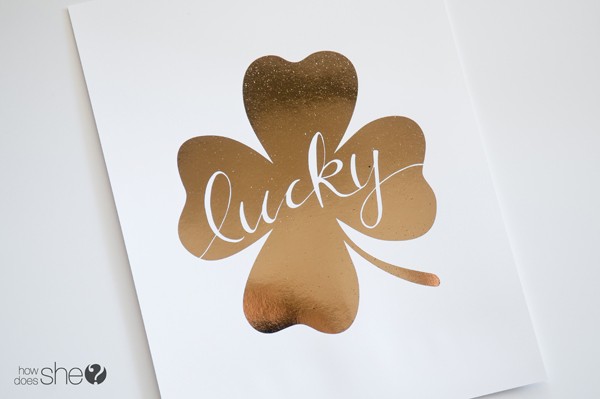 Quotes, holiday prints, cards…go crazy. Gold foil everything. You know you want to try it!
See more of my adventures and projects at www.lifewithfingerprints.com
Now that you are feeling like a crafting genius, why not try out some of these fun crafting/home decor projects?
Did you know it was this easy to create your own DIY Marquee Letters? So hot right now, too!
Have a laundry hamper like no other with this quick and EASY tutorial!
Or try your hand at recycling some old pallets with these 18 project ideas!
The post Easy DIY Gold Foil Prints appeared first on How Does She.
by Kara via Home And Garden




No comments:
Post a Comment